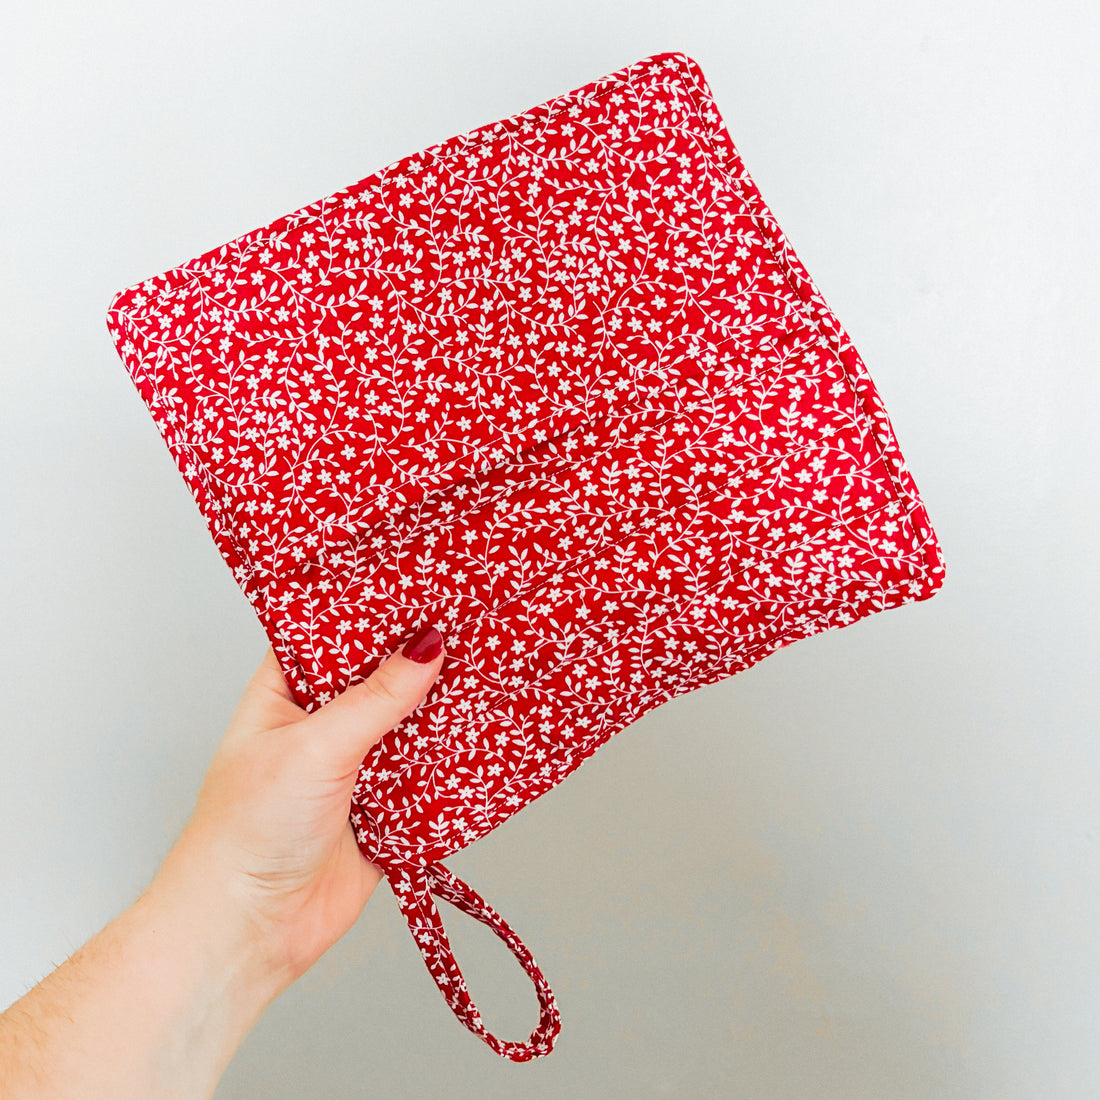
Potholders are an easy beginner sewing project & make great gifts. Here's how to make one with a pocket.

You'll need:
- 100% cotton fabric - at least 10 inches wide, a fat quarter also works well for this project
- 100% cotton batting or an old 100% cotton bath towel - I used this one.
- Insulating fabric - I used this one.

Cut your fabric as follows:
- 100% cotton fabric
- Two 10x10 inch squares - base of potholder
- One 6x10 inch piece - pocket piece
- One 2x10 inch piece - hanging loop
- Cotton batting
- Two 10x10 inch squares
- Insulating fabric
- One 10x10 inch square
Instructions:
1. Iron the hanging loop piece in towards the center. Fold in half and sew along the center to form the base of the loop.

2. Hem the top of the pocket with a 1/4 inch hem.

3. Arrange your cotton pieces as pictured below, making sure the loop faces in toward the center:

4. Add the other base piece so that right sides are together. Layer the batting and insulating fabric on top. Your fabric layers should look like this:

5. Sew along the edges with a 1/2 inch seam allowance, leaving a 4 inch gap at the top.

6. Trim the seam allowance to 1/4 inch.
7. Flip your potholder right sides out & press. Be sure to fold the raw edges in while pressing.

8. Top stitch 1/4 inch around the edge of the potholder & add decorative quilting if you want.
Congrats you've finished your potholder!


