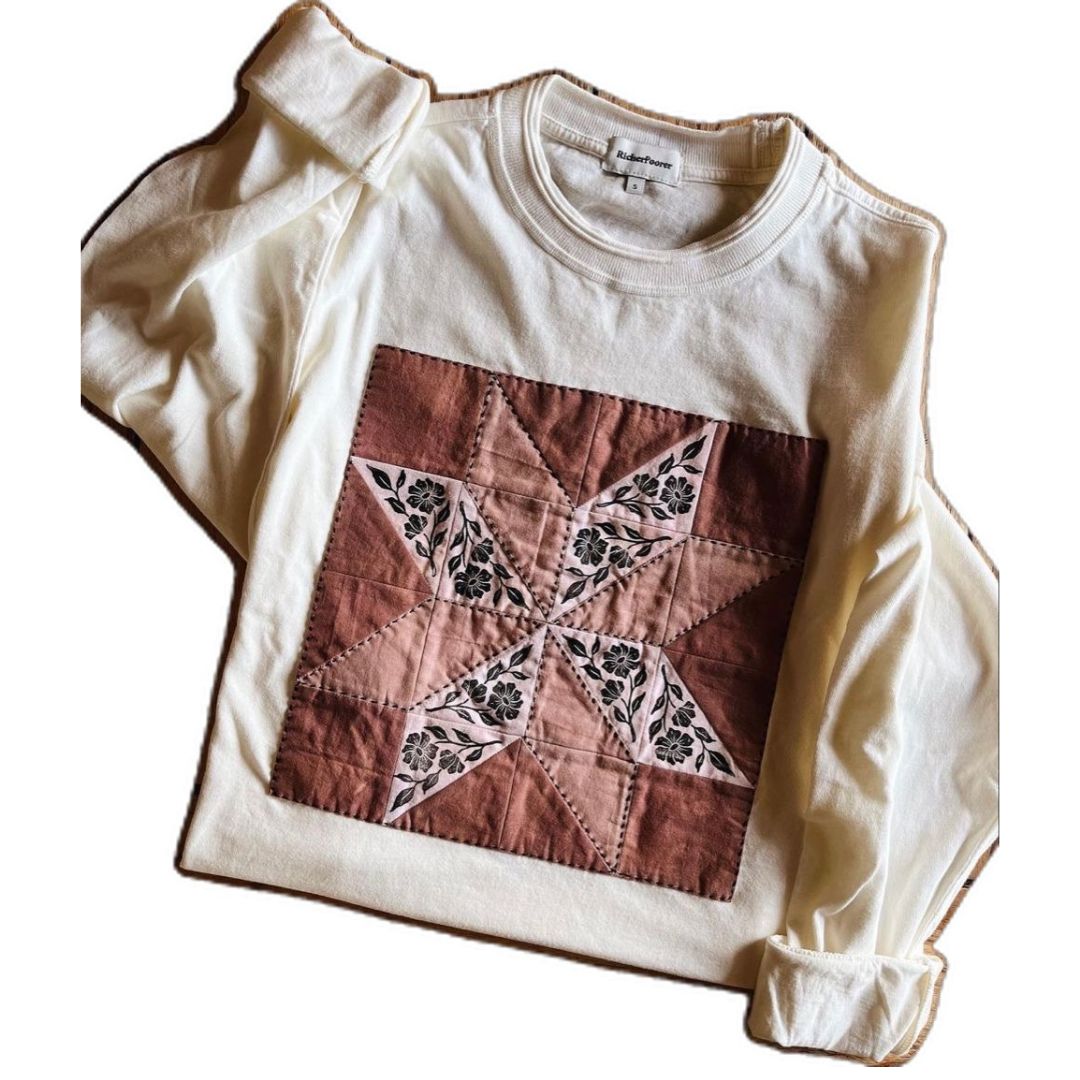
Looking to upcycle an old sweatshirt? I have the perfect beginner-friendly project for you!
You'll need:
- An old sweatshirt
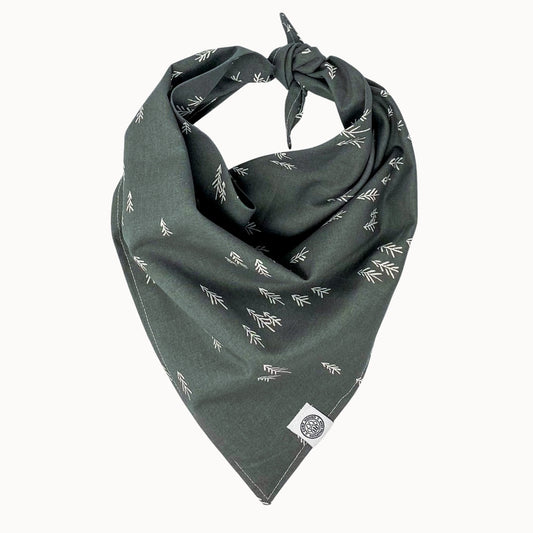
- 3 different cotton fabrics - I recommend using fabric scraps from a project, an old pillowcase, or even your dog's old Camp Hound bandanas that they've outgrown. If you're buying new, I recommend getting 1/8 yd of each fabric.
- Standard sewing supplies - a machine, thread, pins, an iron - the works
- Optional: Heat & Bond Lite. I personally didn't use this, but it can be handy when attaching the quilt block to your sweatshirt.
I was scrolling on pinterest this past weekend when I came across this sweatshirt:

Of course, just my luck, there was no link, no instructions, nothing. Just the picture. So I decided to give it a try anyway. It came out pretty good so here's the tutorial:
Fabric A: Red, Fabric B: Cream, Fabric C: Black
- Cut 4 2.5x2.5 inch squares from Fabric A.
- Cut 4 3x3 inch squares from Fabrics A, B, and C. Then cut along the diagonal to form 8 right triangles of each fabric.
-


- Make 4 of each of the following pairs of triangles: 4 A+B, 4 A+C, 4 B+C. Sewn each of your pairs right sides together along the diagonal with a 1/4 inch seam allowance. You should end up with 12 total squares (16 if you count the 4 solid squares we cut in step 1). Press open the seams.
- Lay out your pieces in to match this pattern:

- Attach the squares from each row to each other by placing right sides together and sewing with a 1/4 inch seam allowance. You should something 4 strips of 4 squares. Press your seams.

- Attach each of the rows to each other with 1/4 inch seam allowance to form the square. Press your seams.

- Optional: fold and press the edges of the quilt block 1/4 inch for a more finished look. I chose to leave the edges raw so they create a fringe edge.
- Time to attach it to your sweatshirt. If you are using Heat & Bond, follow the ironing instructions to attach it to your quilt block and then to your sweatshirt. If not, pin your quilt block to your sweatshirt.
- Sew all along the vertical and horizontal seams to quilt the block to your sweatshirt. Finish it off my sewing a square along the edge.
There you have it! An upcycled quilt block sweatshirt!
FAQ:
- Do I need to iron/press my seams? Yes, it makes a huge difference and keeps everything nice and neat.
- I sewed something wrong, how do I fix it? Seam rip & try again! Sewing is a constant learning process and seam ripping is a part of that.
- Why are you recommending Heat & Bond if you didn't use it? I didn't have any & I didn't want to go to the store so I winged it. Definitely use it if you have it, it makes things so much easier.
- Will you sell these? Nope <3
xo,
Shelby

